I know, balance chairs look very uncomfortable, and it's easy to think that
they are best suited to over-disciplined types who probably punish themselves
at the gym too, all because it's good for you. Well, I'm more of the indulgent type,
who would rather be comfortable now and worry about the future later.
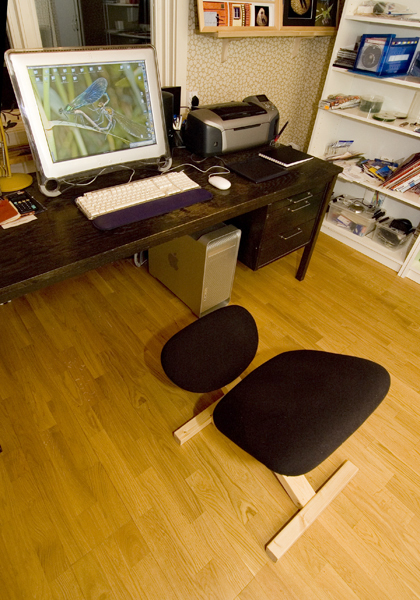
But still I love balance chairs when I'm using a computer. Conventional chairs
are great for sitting back in when reading or talking, but working at a desk
I find that as soon as I've relaxed on to the back I have to lean away from it
to reach for something. With a balance chair your back is always free and moving,
and so extra movements and reaches flow more naturally.
Some people use the term
'kneeling chair', but that is misleading because most your weight should be on the seat,
and the knee support is only there to help with your balance.
I've been using an expensive adjustable and rotating balance chair at work for 15 years, and love it,
but I was too mean to pay hundreds of dollars to have one at home for the few hours a week
that I work there. I tried to use a conventional chair, but soon got aches and pains
in my back after working, and so I built this very simple fixed chair one afternoon.
I'm really surprised how well it works, and although adjustments are very limited,
that's OK since I'm the only one who uses it.
Construction time : 2 hours
Cost : $5 (plus old chair)
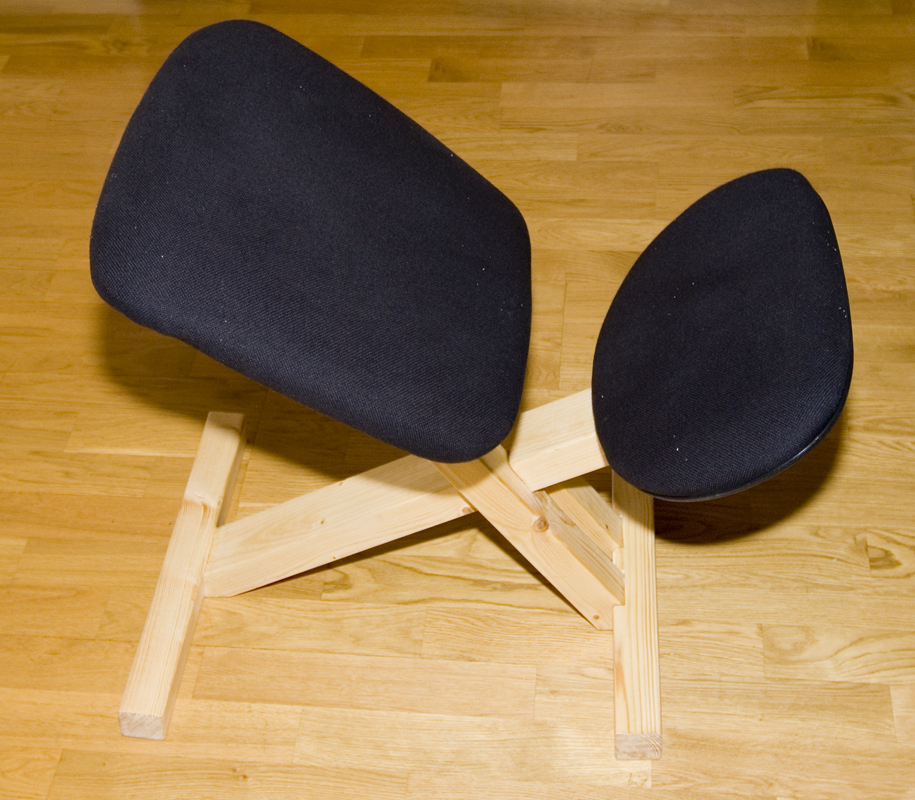
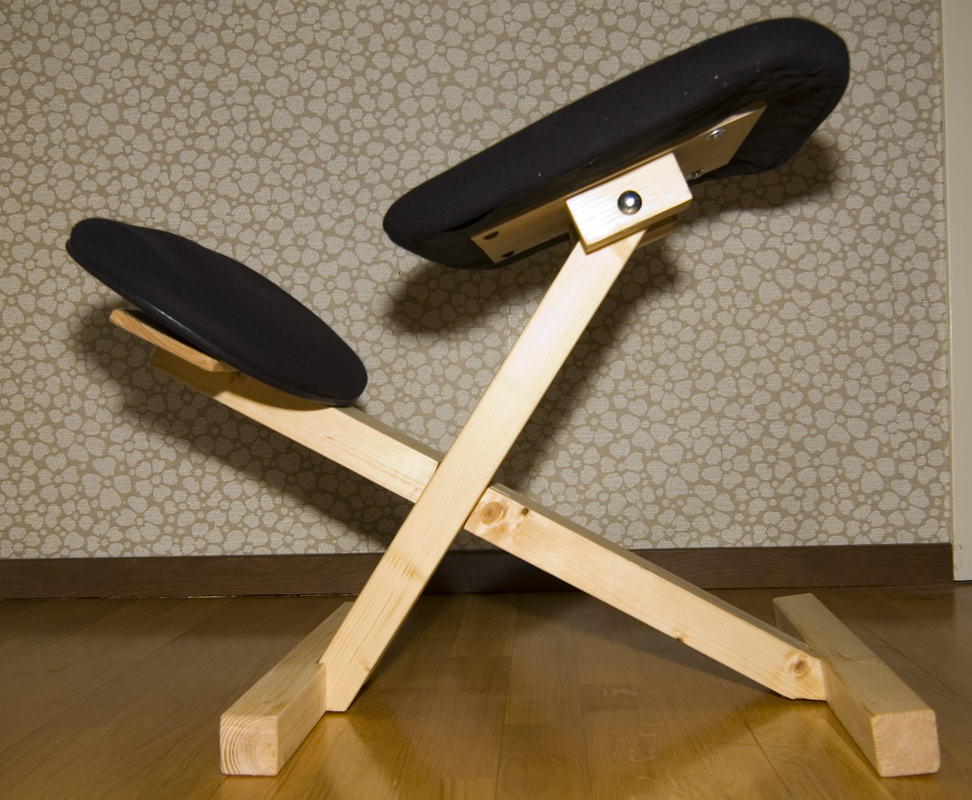
The wood construction is very simple, and hopefully obvious from the photos (click for bigger).
The dimensions and exact geometry will depend on your body shape, but for me
the the forward and backward struts are around 60cm long, and the feet are 40cm wide.
The crossover point for the struts determines the distribution of weight between
the seat and knee pad, and I left mine unglued until I was sure I had the optimal
position. The upholstered parts came from an cheap old IKEA office chair,
and even if you don't have one to salvage, they only cost around $10 new.
Otherwise you can make something out of foam, or use a car seat booster.
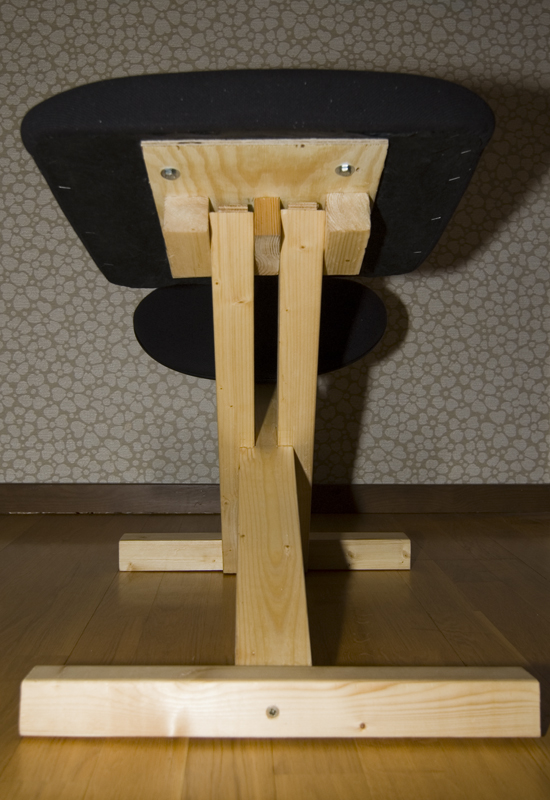
The seat is mounted on blocks that pivot around a pair of coach bolts.
This was originally done as a temporary means of finding the optimal angle,
but now I find I like the slight rocking that it gives. The limits are fixed
by wooden shims in the hinge.
You could mount casters on the feet to allow the whole chair to move and rotate,
but I have a delicate soft wood floor in the office, so I have felt padding instead.
© Mark Harris 2006, but feel free to distribute without changes.